
How to Do Dead Hangs at Home: A Beginner’s Guide
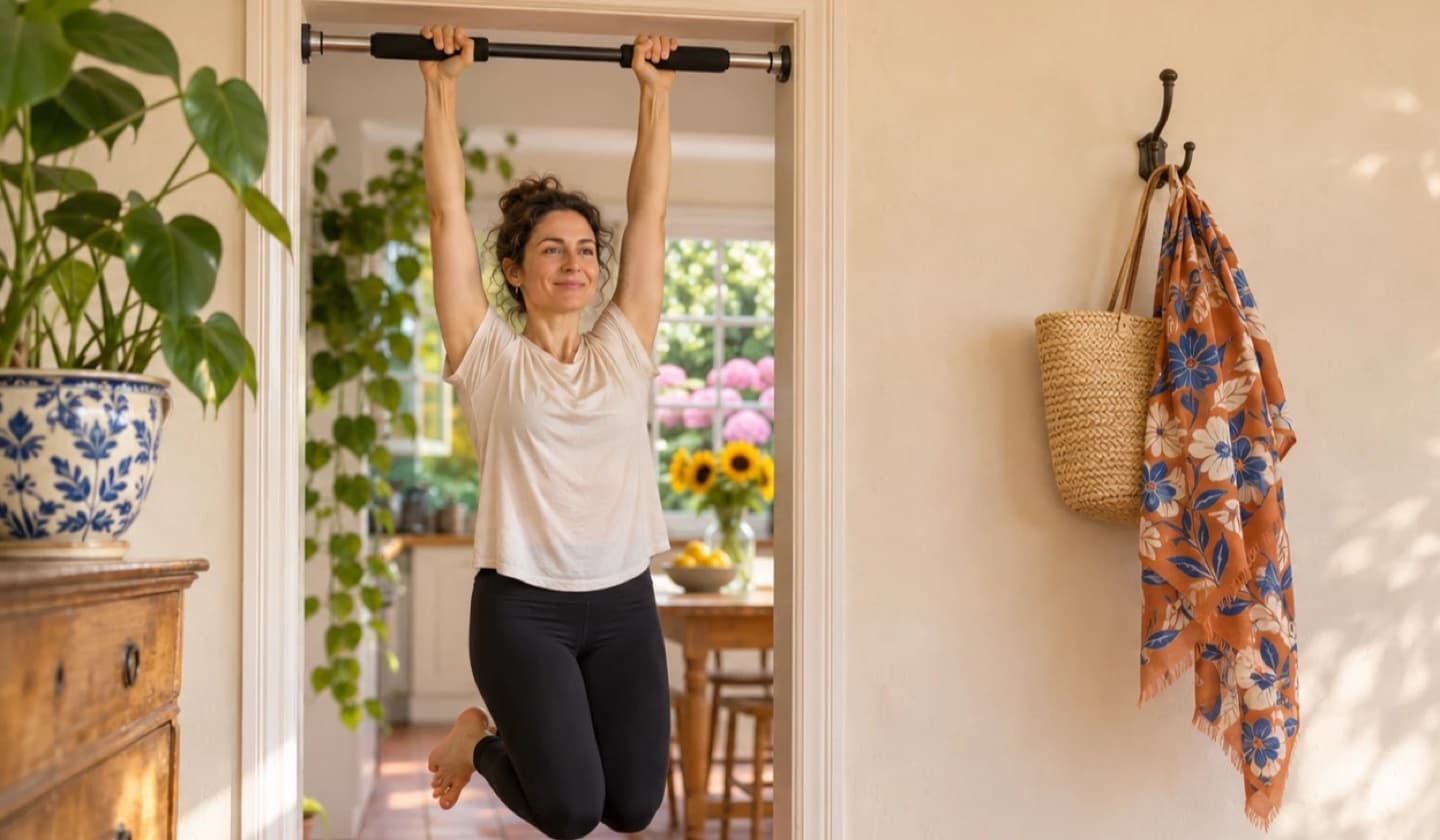
You can do dead hangs at home with a properly fitted doorway pull-up bar, a wall-mounted bar or a freestanding power tower. Grip the bar, keep your arms straight and hold your weight for as long as you comfortably can. If you are new to hanging, start with hangs of 10 seconds or less, or keep a foot lightly on a step. This guide covers which home setups work, how to hang safely, how long to aim for, and a simple four-week plan that builds on your own starting time.
What is a dead hang?
A dead hang is a static hold: you support your bodyweight from a bar through your grip, with your arms fully extended and your feet clear of the ground. The “dead” part just means you are hanging, not pulling. It is the starting position of a pull-up, which is why coaches often use it as the first milestone for anyone working towards one.
It has also had a moment online, with trainers interviewed by TODAY describing it as a quick test of grip [3]. The move itself is as old as bars to hang from, and it works the same whether or not it is trending.
How to do dead hangs at home: what to hang from
At home the requirement is something fixed that takes your full bodyweight, with some margin for stepping on and off. Three setups cover almost everyone:
- A doorway pull-up bar. The cheapest option and the most common, but only for a compatible, structurally sound door frame: the frame and its trim can fail even when the bar itself is rated for your weight. Leverage-style bars rest on the frame’s trim and need no screws; screw-in bars sit inside the frame. Check the minimum frame width and trim depth in the maker’s instructions before you buy.
- A wall- or ceiling-mounted bar. The sturdiest home option, but it has to be fixed into masonry or a joist, not into plasterboard on its own.
- A freestanding power tower. No drilling and no door involved, but it takes up floor space, so check the ceiling height leaves room above your head.
We compare these in more detail, door-frame checks included, in our guide to the best bar for dead hangs at home.
Whichever you choose, follow the maker’s weight limit and fitting instructions, and check the bar is secure before each session, with your feet still on a step. Never hang from something that was not built for it: the top of a door, a banister, a curtain pole, a shelf, or the door frame or its trim itself. A bar designed to rest on the trim is fine; gripping the trim with your fingers is not.
Renting? A leverage-style doorway bar or a power tower needs no drilling, so both can leave with you when you move out. A homeowner with a solid wall or joist has the extra option of a fixed bar.
Low ceiling or a standard-height door frame? Bend your knees and lift your feet up behind you rather than settling for a bar fitted too low. Feet clear of the floor is all that matters.
How to do a dead hang, step by step
- Put a sturdy step or low stool under your bar so you can reach it without jumping.
- Grip slightly wider than shoulder width, palms facing away from you (an overhand grip), fingers wrapped fully over the bar with your thumb around it.
- Step off and let your arms take your weight. Keep your arms straight and your elbows relaxed but not locked back.
- Keep a little engagement in your shoulders. Let them rise slightly towards your ears, but do not let them go completely slack, and there is no need to pull them down hard either.
- Keep your body still and quiet: legs together or gently crossed, core lightly braced so you do not swing.
- Breathe steadily the whole time. Slow breaths in and out, never held.
- Step back onto the step, or land softly with bent knees, while your grip is still under control. Stop straight away if a hang causes pain, or tingling or numbness in your arms or hands.
That is the whole exercise. The work is in staying calm while your grip holds on, and in coming back often enough for the seconds to climb.
How long should a beginner dead hang?
Physiotherapists writing about shoulder safety suggest hangs of 10 seconds or fewer at first, built up gradually, without letting yourself get too tired [5]. A reasonable starting rhythm is 2 to 3 short hangs, with a minute or two of rest between them, two or three times a week. If even 10 seconds is too much, keep a foot lightly on the step and let your arms take most of your weight.
- New to hanging: up to 10 seconds, 2 to 3 hangs, feet supported if needed
- Once that feels controlled: 15 to 30 seconds
- Later on: 30 to 60 seconds, or harder variations
These are sensible starting points, not a tested programme, and how quickly your time rises depends on your starting point, bodyweight and shoulders. Thirty seconds is a useful first milestone, and a minute gives you something to work towards. These are not official standards, and there is no reason to compare your first hang with someone who has been practising for years.
Not sure where you are starting from? Time a hang on our dead hang tracker and it shows which band your time falls in, from Just starting upwards, and can turn it into a free 4-week plan built from your own time.
Passive vs active hangs
A passive hang is fully relaxed: shoulders up by your ears, arms simply hanging. An active hang adds tension: without bending your arms, you draw your shoulder blades gently down and back and hold them there.
Shoulder physiotherapists caution that hanging completely passively carries some risk, particularly for people with hypermobile or unstable shoulders, and suggest keeping some active tone [5]. In practice, most people do best somewhere in between: shoulders a little lifted but not slack. As your hangs get longer, mix in sets with more active tension, which also builds the shoulder control you need for pull-ups.
A four-week beginner plan
Two or three short sessions a week is plenty. The plan works from your own starting time rather than a fixed target, and every hang ends while your grip is still under control.
- Week 1: find your starting point. Time one comfortable, controlled hang (feet supported if you need it), then do two more at about the same length.
- Week 2: aim to add a few seconds to each hang, keeping some engagement in your shoulders throughout.
- Week 3: settle into the longer hangs. Add a fourth hang if the first three feel controlled.
- Week 4: retest your best controlled hang and compare it with week 1.
Not there yet? Repeat a week, or keep a foot on the step for longer. The plan is a guide, not a contract, and the comparison that matters is with your own week 1.
Common mistakes and how to fix them
- Jumping to the bar. Climbing up from a step keeps your shoulders relaxed, saves grip for the hang itself, and is kinder to a doorway bar.
- A half grip. Fingers hooked over the bar without the thumb wrapped around makes the hold harder to keep. Wrap the thumb.
- Holding your breath. It raises the strain of the hold and ends the set early. Keep breathing slowly [4].
- Swinging. A moving body costs grip and can work a doorway bar loose. Cross your ankles and brace your core lightly to stay still.
- Hanging until your grip gives out. Ending a couple of seconds early keeps the landing controlled and your shoulders out of the tired, unstable end of the hang [5].
What are dead hangs actually good for?
The most direct thing dead hangs train is grip endurance: how long you can hold on. Grip strength more generally is a well-studied marker. The PURE study, which followed nearly 140,000 adults across 17 countries, found that lower measured grip strength was associated with higher rates of death from cardiovascular disease and other causes [1]. Harvard Health’s summary of the same research reported that each 5 kg decrease in grip strength was linked to a 16 percent higher risk of death from any cause over the study period [2].
There is an important distinction, though. Those researchers measured how hard people could squeeze a handheld device, not how long they could hang from a bar. A longer dead hang is a worthwhile fitness goal, but it does not automatically mean better health or a longer life.
Many people also find hanging a satisfying stretch through the shoulders and upper back after a day at a desk, and trainers interviewed by TODAY recommend short hangs to desk workers [3]. Whether it improves posture or eases back problems is less clear, so treat that as a possible bonus rather than a promise. Our post on why dead hangs deserve a minute of your day goes deeper.
Frequently asked questions
Can you do dead hangs at home without a pull-up bar?
Not safely without something built to take your full weight. A doorway bar is the cheapest fix for a suitable frame; until you have one, a playground or park bar works just as well. Avoid improvising with doors, banisters, shelves or curtain poles.
Will a doorway pull-up bar damage the door frame?
A leverage-style bar rests on the trim and can mark the paint over time, and screw-in bars leave small holes. Only add protective pads if the maker’s instructions allow them, since padding can change how some bars sit. Do not use either type on a frame that flexes when you push on it.
Can I do dead hangs every day?
Short, easy hangs most days suit many people, and some enjoy them as a daily stretch. If your hangs are long or seriously challenge your grip, treat them like any strength work and leave a rest day between hard sessions, especially in the first month while your hands and elbows adapt.
What if I can’t hang for even 10 seconds?
That is a normal place to start. Keep your feet (or one foot) resting lightly on a step or the floor and let your arms take most, but not all, of your weight. Build up the seconds there, then take more weight on your arms as it feels controlled.
Is a dead hang safe for my shoulders?
Dead hangs are not right for everyone. If you have shoulder instability or hypermobility, have dislocated a shoulder before, or have pain when reaching overhead, speak to a physiotherapist or doctor before adding hangs [5]. Otherwise, start short, keep some engagement in your shoulders, and stop if a hang causes pain, tingling or numbness.
What is a good dead hang time?
Thirty seconds is a useful first milestone, and a minute gives you something to work towards; some people go on to 90 seconds or more. None of these are official standards, and age, bodyweight, grip and experience all play a part. The more useful number is your own last time.
The bottom line
Dead hangs at home need a properly fitted bar, straight arms and whatever seconds your grip has today. Start short, keep a little tension in your shoulders, stop each hang while you are still in control, and compare yourself with last week rather than with anyone else.
The best way to see whether you are improving is to keep track. Time your first hang on the dead hang tracker to see where your time sits and get a free 4-week plan from it, and a free Just Hold account keeps every hang after that, with friends or family to compare against if you like. You do not need to hit a minute. You just need a number to build on.
Educational content only, not medical advice. If you have existing back, shoulder, or core injuries, or you have high blood pressure or a heart condition, speak with a qualified clinician before starting a new training routine. Avoid holding your breath or straining during a hold, which can cause a sharp rise in blood pressure [4].
- Leong DP, Teo KK, Rangarajan S, et al. Prognostic value of grip strength: findings from the Prospective Urban Rural Epidemiology (PURE) study. Lancet 2015;386(9990):266–273.
- Harvard Health Publishing. Grip strength may provide clues to heart health. 2015.
- TODAY (NBC). What is a dead hang? Simple exercise improves posture, grip strength.
- Mayo Clinic. Isometric exercises: Good for strength training?
- Ganderton C, Warby S. What are dead hangs? What are the shoulder pain risks and how do I do them safely? The Conversation, 21 April 2023.